Skip to content >

- Key Takeaways
- How Should I Plan An Accessible Home Renovation From Day One?
- How wide should doors and hallways be for wheelchair access?
- What Are The Key Specs For Safe Ramps And Step-Free Entrances?
- How Can I Make My Bathroom Accessible And Safe?
- What Kitchen Layout And Measurements Work Best For Accessibility?
- How Do I Compare Stair Lifts And Home Elevators For Multi-Level Access?
- How Can I Improve Bedroom, Hallway, And Living Room Accessibility?
- What Measurements Should Go On My Accessible Renovation Checklist?
- How Do I Budget And Phase My Accessible Home Renovation?
- How Do Accessible Renovations Affect Home Value And Aging In Place?
- FAQ: Accessible Home Renovation Ideas
- Where To Go From Here
Most homes are not built for the people living in them today. According to Harvard’s Joint Center for Housing Studies, fewer than 4% of U.S. homes have the three basic features needed for accessibility: a step-free entry, a bedroom on the main floor, and a full bathroom on the main floor.
This checklist covers every room, with the specific measurements and specs you need to hand your contractor.
Key Takeaways
- Start with an accessible home renovation checklist that covers entryways, bathrooms, kitchens, hallways, stairs, and bedrooms, focused on the daily tasks you struggle with most right now.
- For wheelchair-accessible routes inside the home, plan for at least 36-inch-wide hallways and a 32-inch clear opening at doors. A 36-inch door slab typically gets you there once hinges and trim are accounted for.
- Use ADA guidelines as a safety benchmark, not a legal requirement for private homes: 1:12 ramp slopes, grab bars mounted 33 to 36 inches high, and counters or sinks no higher than 34 inches with knee space where needed.
- For multi-level homes, compare stair lifts and residential elevators, including compact, shaftless models like Pneumatic Vacuum Elevators (PVE), which install in as little as 2 to 3 days with minimal structural work.
- Plan renovations in phases: prioritize fall prevention and bathroom safety first, then kitchen access, bedroom layout, lighting, and longer-term upgrades like a home elevator for aging in place.
How Should I Plan An Accessible Home Renovation From Day One?
Planning starts with a room-by-room accessible home renovation checklist and a clear list of your specific needs: mobility, vision, strength, cognition. The goal is safe movement, independent daily tasks like bathing, cooking, and transfers, and staying in your home long term. About 75% of adults age 50 and older say they want to remain in their current home as they age, according to AARP’s 2024 Home and Community Preferences Survey, so it’s worth planning renovations early rather than reacting after an injury.
Map your daily routine from front door to bathroom to bedroom to kitchen, and note every barrier: steps, tight doors, hard-to-reach switches, slippery floors. Document current measurements for doorway widths, hallway widths, stair dimensions, bathroom size, counter heights, and turning space (60-inch circles wherever a wheelchair is used).
Involve an occupational therapist or a Certified Aging-in-Place Specialist (CAPS) early. They translate mobility needs into construction specs a contractor can build from, and integrating universal design from the start tends to serve everyone in the household, not just the person the renovation is planned around.
ADA standards guide safety but do not directly regulate private homes unless local code adopts them. Check with your city or county building department. Permits are typically required for structural work, electrical, plumbing, ramps attached to the house, and elevators. Starting with permits avoids expensive rework later.
How wide should doors and hallways be for wheelchair access?
ADA guidelines call for a 32-inch minimum clear opening at doors and at least 36 inches of clear width along accessible routes like hallways. “Clear opening” means the actual passable width with the door open 90 degrees, measured from the door stop to the face of the door, not the nominal size printed on the door itself.
A standard 36-inch door slab typically produces close to a 32-inch clear opening once hinges and stops are accounted for, which is why 36 inches has become the practical framing target for accessible doors. Ask your contractor to confirm the measured clear width after trim is installed, not just the rough opening.
For hallways, 36 inches is the minimum; 42 to 48 inches is preferred anywhere a caregiver needs to walk beside a wheelchair, or in high-traffic areas.
Common renovation strategies:
- Removing non-load-bearing walls to open up routes
- Moving doorways to gain width
- Using offset (swing-clear) hinges to gain 1 to 1.5 inches of clearance without reframing
- Replacing a standard door with a pocket door where swing space is tight
Prioritize wider doors at the main entry, primary bedroom, bathroom, laundry, and kitchen. Lever handles are easier to operate than round doorknobs, especially for anyone with limited hand strength or arthritis. Mount handles 34 to 48 inches above the floor with at least 1.5 inches of clearance behind them for an easier grip. On exterior doors, leave a landing at least 60 inches deep on both sides so there’s room to turn and operate the door safely from a wheelchair or walker.
What Are The Key Specs For Safe Ramps And Step-Free Entrances?
A safe residential ramp follows the ADA 1:12 maximum slope guideline: 1 inch of rise for every 12 inches of ramp run, with a minimum clear width of 36 inches. Flatter slopes, 1:16 or gentler, are easier for most users. Where possible, a zero-step entry removes the need for a ramp altogether and eliminates a common tripping hazard.
A few working examples: a 24-inch rise from driveway to porch needs at least 24 feet of ramp, not counting landings. A 12-inch step needs at least 12 feet of run.
Landing requirements:
- A 60-inch-long level landing at the top and bottom of the ramp
- A 60-by-60-inch turning platform at any 90-degree turn
- Non-slip surfaces for wet-weather safety, such as textured concrete or composite decking with an anti-slip finish
- Handrails on both sides at 34 to 38 inches high, with edge protection to prevent wheels from rolling off
Where a full-length ramp isn’t practical, alternatives include regrading the yard for a no-step entrance, short threshold ramps for 1 to 2-inch transitions, or a vertical platform lift. For weather, plan for covered entries, drainage, and materials that stay slip-resistant in snow, ice, or rain.
Ask contractors for drawings that show slope ratio and landing sizes before construction starts.
How Can I Make My Bathroom Accessible And Safe?
Bathrooms are the highest-risk room in the house for falls. The CDC reports that roughly one in four adults 65 and older experiences a fall each year, and a large share of those happen in the bathroom. An accessible bathroom renovation typically starts with a curbless shower, grab bars, and enough room to maneuver.
Mount horizontal grab bars 33 to 36 inches above the finished floor, near toilets and inside showers. During renovation, have your contractor install blocking, 2×8 or 2×10 lumber, behind the drywall so bars anchor into solid wood rather than drywall alone.
Shower upgrades for a safer bathroom:
- A curbless shower at least 36 by 60 inches for roll-in use, removing the need to step over a raised threshold
- Slip-resistant tile rated for wet floors
- A built-in bench or fold-down seat, plus a handheld showerhead on an adjustable bar
Comfort-height toilets sit at 17 to 19 inches from floor to seat. Leave at least 18 inches from the toilet centerline to a side wall for grab bar mounting, and plan for a 60-inch turning radius where wheelchair transfers happen. For sinks, keep the counter no higher than 34 inches, with knee clearance of at least 27 inches high, 30 inches wide, and 19 inches deep underneath. Round exposed corners and insulate hot water pipes under the sink.
Slope shower floors gently to a linear drain to avoid low spots that catch water. A touchless or motion-sensor faucet, an anti-scald valve, and brighter LED lighting over the mirror and inside the shower all help with aging eyes and limited mobility alike.
What Kitchen Layout And Measurements Work Best For Accessibility?
An accessible kitchen balances safe circulation, reachable storage, and appliances that are safe to use while seated or standing. Allow at least 40 to 48 inches between opposing counters for a wheelchair or walker to pass through. At least one work surface or sink should sit no higher than 34 inches, with knee space underneath.
Storage and access ideas:
- Pull-out shelves and full-extension drawers with D-shaped pulls
- Lazy Susans in corner cabinets
- Pull-down systems for upper cabinets
- Side-swing wall ovens mounted lower, and cooktops with front or side controls
- Drawer-style dishwashers and french-door refrigerators for easier reach
- Lever handles on cabinetry for anyone with limited hand strength
Provide 30-by-48-inch clear floor space in front of major appliances and sinks, and a 60-inch turning circle if a wheelchair user needs to use the kitchen independently. For lighting, add task lighting under cabinets and set light switches around 42 inches high, within the standard 15 to 48-inch reach range. Place outlets where plugging in a small appliance doesn’t require bending or reaching behind equipment.
Plan kitchen changes alongside other renovation projects where you can, since combining trades typically lowers total cost.
How Do I Compare Stair Lifts And Home Elevators For Multi-Level Access?
A stair lift and a residential elevator are the two main ways to make upper floors accessible. The right choice depends on mobility level, available space, future needs, and budget.
A stair lift is a seat that travels along the stairs. It suits people who can sit and transfer but struggle with climbing. It costs less upfront than an elevator and needs minimal structural change. It doesn’t carry a wheelchair, though, can be difficult for people with significant balance issues, and narrows the usable stair width.
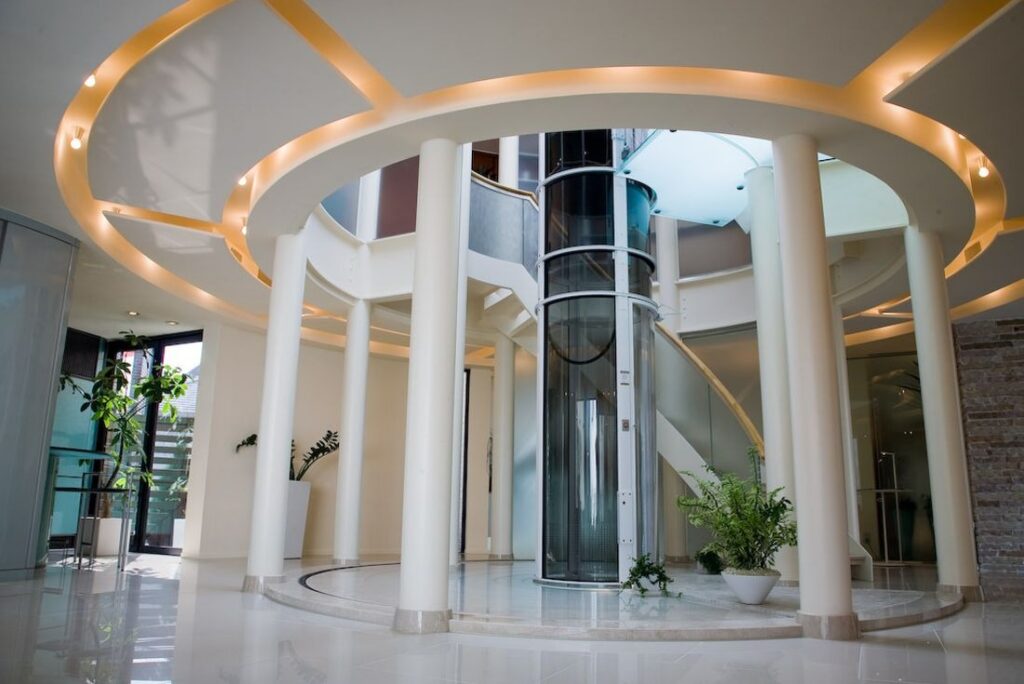
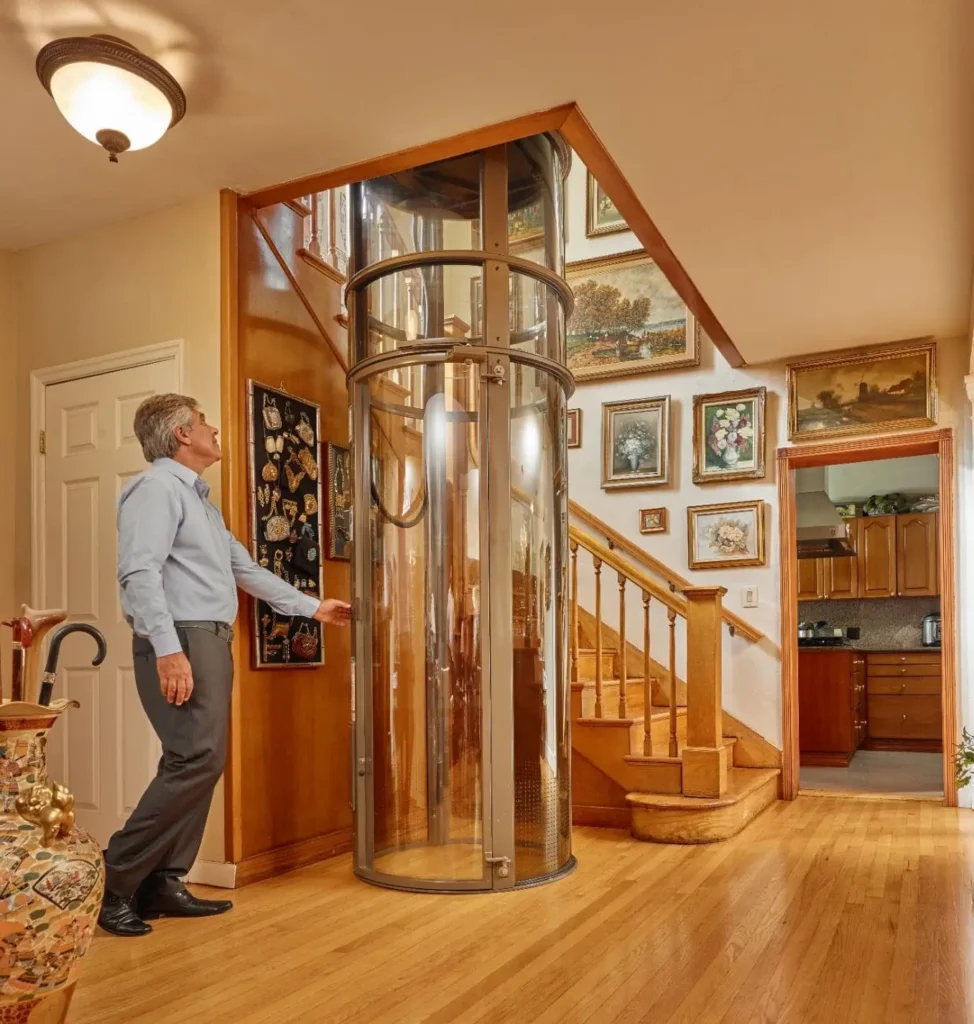
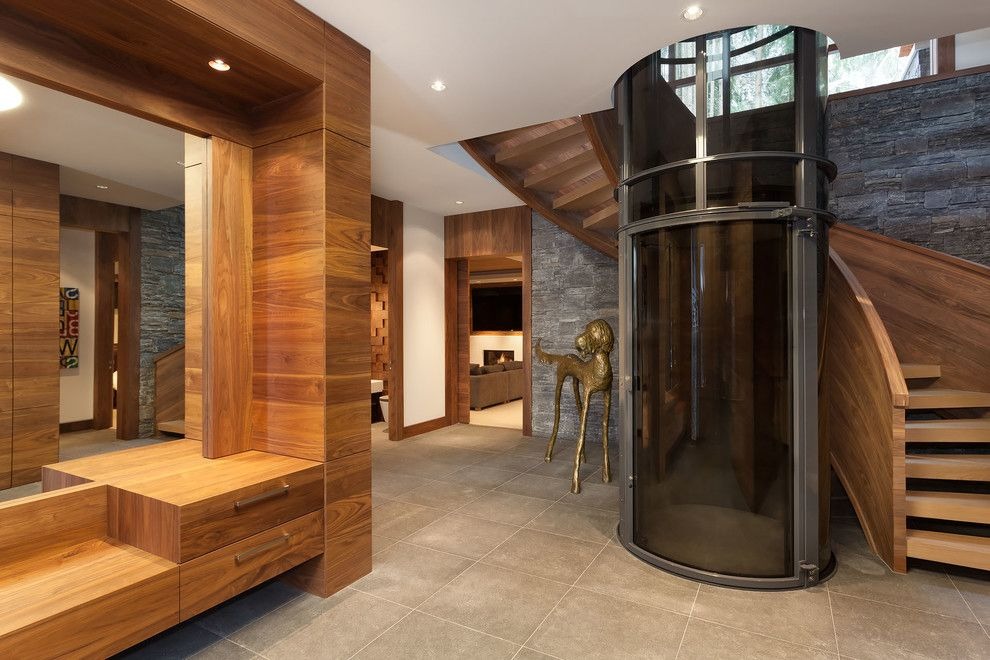
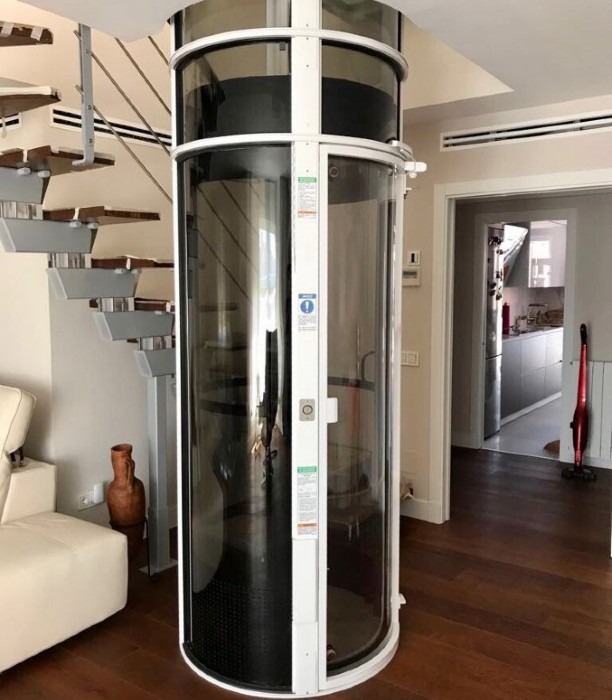
Residential elevators serve a broader range of needs. Compact, shaftless models like Pneumatic Vacuum Elevators (PVE) install in as little as 2 to 3 days, require no pit or machine room, and can be retrofitted through an existing floor. PVE offers single-passenger, multi-passenger, and wheelchair-accessible models, all panoramic and air-driven.
| Feature | Stair lift | Shaftless vacuum elevator (PVE) |
|---|---|---|
| Carries a wheelchair | No | Yes, on wheelchair-accessible models |
| Installation time | Often 1 day | Typically 2 to 3 days |
| Structural changes | Minimal (rail along the stairs) | Floor opening only; no pit or machine room |
| Footprint | Along the stair run | Circular cab, fits within living space |
| Starting cost | Varies by stair shape and length | Around $35,000, averaging near $45,000 installed |
When you’re planning to age in place, or more than one household member needs step-free access, an elevator is often the more practical long-term choice.
How Can I Improve Bedroom, Hallway, And Living Room Accessibility?
These spaces come down to clear pathways, safe transfers, and easy control of lighting, especially for nighttime trips and emergency exits.
For bedrooms, occupational therapists often recommend a bed height of about 20 to 23 inches from the floor to the top of the mattress, since that’s close to typical wheelchair seat height and makes transfers easier. Leave clear space on at least one side of the bed for a wheelchair or walker, and keep circulation paths 36 to 48 inches wide. Lower closet rods to 42 to 48 inches, use open shelving for everyday items, and avoid storing anything heavy above shoulder height.
Hallways and living rooms need 36 inches of width at minimum, 42 to 48 inches preferred. Remove narrow console tables and rugs that catch wheels or feet, and keep 60-inch turning areas at hallway junctions. Motion-sensor lighting helps with nighttime safety, rocker or large-paddle switches at about 42 inches are easier to operate than small toggles, and contrasting wall and floor colors help with depth perception for aging eyes.
For doors in these spaces, use lever-style handles, smart locks where it makes sense, and windows that can be operated with one hand from a seated position. Keep pathways to exits clear of heavy furniture, and maintain at least one accessible route out of the home from the main living areas in case of an emergency.
What Measurements Should Go On My Accessible Renovation Checklist?
Keep every critical dimension in one place so you can check contractor plans against it. This covers doors, hallways, ramps, bathrooms, kitchens, and stairs.
| Feature | ADA minimum | More comfortable |
|---|---|---|
| Door clear opening | 32 in (815 mm) | 36 in slab, to allow for hardware and trim |
| Hallway width | 36 in (915 mm) | 42 to 48 in, for a caregiver plus wheelchair |
| Ramp slope | 1:12 max (rise:run) | 1:16 or gentler |
| Ramp width | 36 in (915 mm) | 42 in, for roomier transitions |
| Grab bar height | 33 to 36 in (840 to 915 mm) | Match to user’s elbow height where possible |
| Toilet seat height | 17 to 19 in (430 to 485 mm) | Upper end for taller users |
| Counter/sink max height | 34 in (865 mm) | 32 to 34 in, depending on use |
| Knee clearance under sink | 27 in H x 30 in W x 19 in D | Generous toe space, insulated pipes |
| Switches and outlets | 15 to 48 in above floor | Center of that range for most users |
| Turning radius | 60 in diameter circle | Larger where fixtures crowd the space |
For stairs, even alongside a lift or elevator, keep riser heights consistent, use a tread depth of at least 10 inches (11 inches if there’s no nosing), install sturdy handrails at 34 to 38 inches, and add high-contrast nosing strips for visibility.
Print this checklist or save it for meetings with builders, architects, and elevator dealers. ADA figures here are a planning benchmark; local building code may override some of these dimensions, so a code check with your permitting office is still essential.
How Do I Budget And Phase My Accessible Home Renovation?
Most homeowners can’t tackle every accessible renovation at once. Phasing by safety impact and cost keeps the project manageable.
Tier 1, immediate needs: Grab bars, brighter LED lighting, non-slip flooring, lever handles, and repositioned light switches. These typically run in the low hundreds of dollars each and address the most common safety hazards first.
Tier 2, medium-term layout changes: Widening doorways, bathroom and kitchen remodels, a curbless shower, and ramp construction. Bathroom remodels at this scope typically run in the tens of thousands of dollars, depending on plumbing work.
Tier 3, long-term investments: Home elevators, major structural changes, and whole-home automation. Elevator pricing depends on the number of stops, cab size, and finishes; PVE’s home elevator cost guide breaks down those variables in detail.
A few financial assistance options are worth checking into. The USDA’s Section 504 program offers loans and grants to eligible rural homeowners. Veterans may qualify for a VA Specially Adapted Housing grant if they have a qualifying service-connected disability. A number of states run their own accessibility modification grants as well. Talk with lenders, insurance providers, and local agencies about grants or low-interest loans that may apply to your project.
A note on tax deductions: home accessibility modifications can sometimes qualify as a deductible medical expense under IRS rules, but three conditions typically apply: the improvement must be medically necessary, only the portion of qualifying medical expenses above 7.5% of your adjusted gross income is deductible, and you must itemize deductions to claim it. Rules and thresholds can change, so confirm current details with a tax professional or the current IRS publication before assuming a renovation qualifies. This is general information, not tax or legal advice.
Group similar trades, like plumbing and electrical, into the same phase to reduce repeat visits and cost. Track expenses and change orders carefully, and make sure any accessibility features, including an elevator, are clearly spelled out in your contracts and drawings.
How Do Accessible Renovations Affect Home Value And Aging In Place?
An accessible renovation adds immediate quality-of-life benefits along with potential resale advantages. Features like zero-step entries, wider doors, and step-free bathrooms appeal to a broad range of buyers, not just people currently using a wheelchair or walker.
Residential elevators in particular can make a multi-story home more marketable to older buyers and position it well in higher-end listings. Returns vary by market, but elevators tend to make a home more competitive in that segment.
The non-financial benefits matter just as much: staying in a familiar neighborhood, avoiding the cost and disruption of a move, and keeping your independence longer. If you’re not ready for every upgrade now, plan for later: install blocking for future grab bars, stack closets where a future elevator could go, and wire for smart home controls even if the devices come later.
FAQ: Accessible Home Renovation Ideas
A few practical questions homeowners ask that aren’t fully covered above.
How do I make a two-story home wheelchair accessible without moving?
Combine a step-free entrance, widened interior doors, and either a wheelchair-accessible residential elevator or a vertical platform lift. Shaftless options like PVE’s panoramic elevators fit into existing living space with less structural work than a traditional elevator and typically install in 2 to 3 days. Talk with both an accessibility specialist and an elevator dealer to evaluate your floor layout, weight limits, and electrical needs before committing. PVE’s small residential elevator options are worth a look if floor space is tight.
Do I have to follow ADA rules for a private home renovation?
No, not usually. ADA regulations apply to public and commercial spaces, not most private homes, unless your local building code specifically incorporates parts of the standard. It’s still useful as a safety and performance benchmark for door width, ramp slope, and grab bar height. Confirm actual requirements with your local permitting office.
What’s the difference between universal design and accessible design?
Accessible design tailors a home to specific needs, like wheelchair use or limited grip strength, using measurements drawn from standards like ADA. Universal design creates spaces everyone can use comfortably without special adaptation, like no-step entries, lever handles, and open floor plans. Most accessible home renovations blend both, so the home feels natural for every age and ability rather than clinical.
How can I tell if my contractor understands accessible home design?
Ask about past accessibility projects, request references from clients with disabilities, and look for a Certified Aging-in-Place Specialist (CAPS) credential. A contractor who understands the work will answer questions about door clearances, ramp slopes, and grab bar blocking with specific numbers, not vague reassurances.
How much does it cost to make a home more accessible?
It depends heavily on scope. Tier 1 items like grab bars and lighting run in the low hundreds of dollars. Bathroom remodels and doorway widening typically run into the tens of thousands.
Where To Go From Here
Start with the room that presents the biggest daily obstacle, whether that’s a step at the front door, a bathroom that’s hard to use safely, or a staircase that’s become a problem. Work through the checklist above with your contractor or a CAPS-certified specialist, and treat the ADA numbers as your starting benchmark rather than the final word, since local code and your own needs may adjust some of them.
If a home elevator is part of your long-term plan, PVE’s team can walk through floor layout, model options, and installation timing for your specific home. Request a free consultation to get started.